Your Cart is Empty


Are you a lash technician looking to enhance your skills in removing grown-out pre-made fans for lash extension fills? If so, you've come to the right place! In this tutorial, we will guide you through expert techniques to make the process easy and seamless. Removing pre-made fans requires a slightly different approach than classic or volume lashes, but with the right methods, you can efficiently remove them without any damage to the natural lashes.
In this guide, we'll walk you through the step-by-step process of removing grown-out pre-made fans, ensuring that your clients have a comfortable experience while maintaining the health of their natural lashes. So, let's dive in and discover the best practices for achieving beautiful results!
The Banana Peel technique is a popular and effective method for removing pre-made fans. However, it requires a firm grip and precision to prevent the fan from breaking into multiple pieces. To use this technique:
Gently place eye pads on the client to protect their lower lashes and ensure their comfort during the procedure.
For a fill, use a paper towel to collect the pre-made fans you'll be removing.
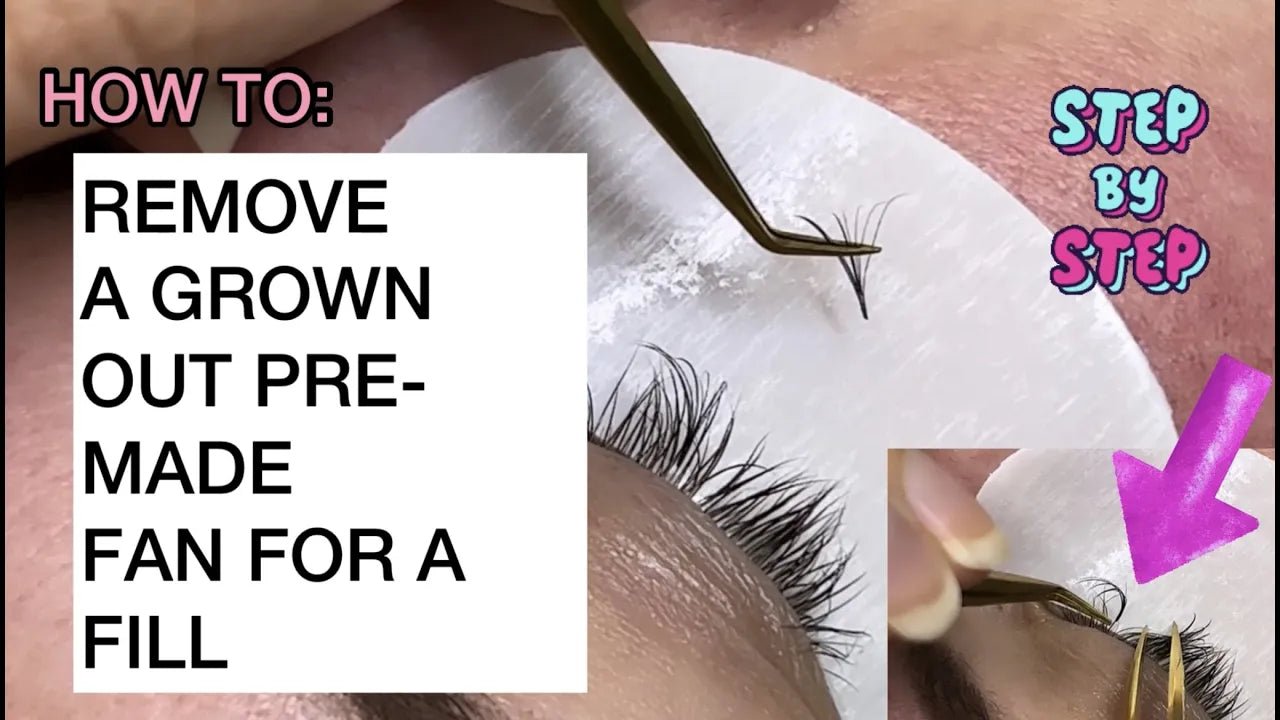
Begin the removal process by grabbing the lash extension with one tweezer and the natural lash with the other tweezer.
Carefully peel back the pre-made fan from the natural lash in a swift motion.
Watch out for any resistance or difficulties during the removal to prevent breaking the fan into pieces.
The Squeeze-and-Lift technique is a safe and efficient alternative for removing overgrown pre-made fans without putting too much pressure on the natural lashes. Follow these steps:
Position your tweezers around the base of the pre-made fan.
Gently squeeze the tweezers to break the bond between the glue and the natural lash.
Ensure the client's comfort by avoiding any pulling or tugging on the natural lashes.
Using the bottom part of the tweezer, lift the pre-made fan from the base without causing any damage.
Repeat the process for each grown-out pre-made fan that needs to be replaced.
The Reverse Banana Peel technique is an excellent option when dealing with highly grown-out pre-made fans. Here's how to apply this method:
Twist your tweezers around to grasp the natural lash from the bottom.
Apply gentle, firm pressure to break the glue bond of the pre-made fan.
Lift the pre-made fan carefully from the base using the bottom part of the tweezers.
Ensure the client's comfort throughout the process.
Remember, using high-quality pre-made fans with sharp, pointy bases and the right length and thickness is essential for achieving optimal results. Always prioritize your client's comfort and safety during the removal process.
With regular practice, you'll become proficient in handling pre-made fans, making your lash extension fills a breeze. So go ahead and implement these techniques in your lash practice to provide top-notch service and stunning results for your clients!


